


Summarize this blog post with:
In this article, you’ll learn how to write a blog post outline that takes you from blank page to finished draft without the second-guessing. The same outline will also hold up in AI search, where ChatGPT, Perplexity, and Gemini increasingly decide who gets cited and who gets buried.
Table of Contents
1. Pick a topic that has demand in Google and AI search
You cannot outline a post until you know what the post is about. The mistake most writers make is stopping at “I want to cover X.” That is a topic, not a target. Without a target, you are guessing whether anyone will read what you write.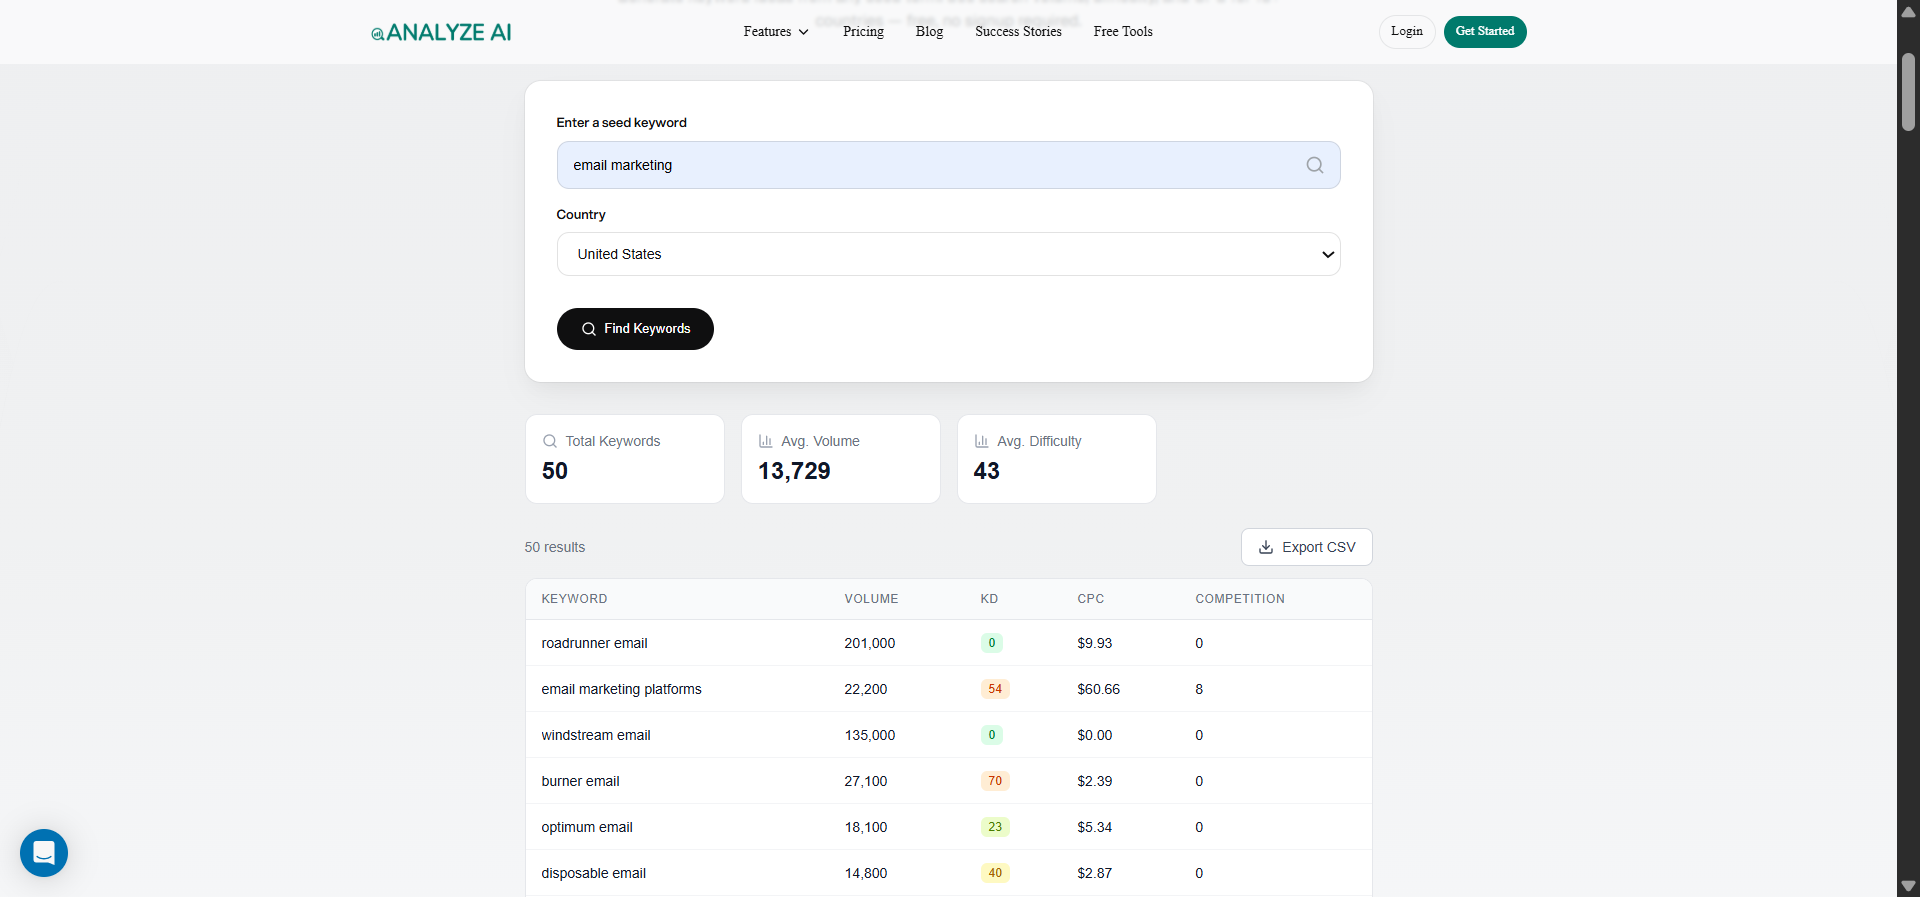
Start with traditional keyword research. Open a tool like Ahrefs Keywords Explorer or our free keyword generator tool, enter a seed term, and pull the matching terms and questions with real search volume. This shows you what people type into Google.
![[Screenshot: Ahrefs Keywords Explorer Matching Terms report with the Questions tab selected, showing question-based keywords with search volume]](https://www.datocms-assets.com/164164/1777768152-blobid2.png)
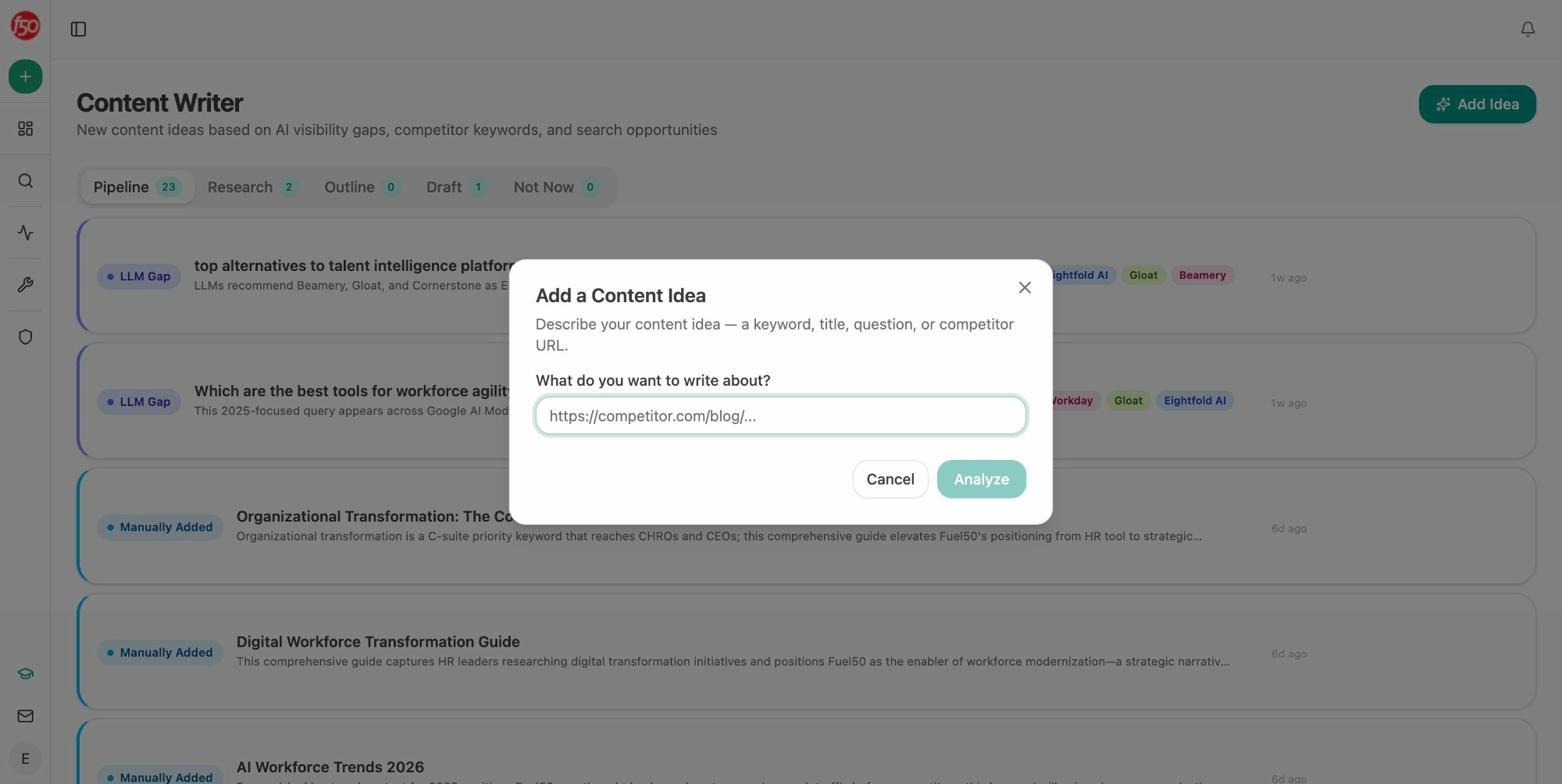
That is half the picture. The other half is AI search. People do not always type the same thing into ChatGPT that they type into Google. Conversational prompts are longer, more specific, and often question-based. To find them, open Analyze AI and check the Suggested Prompts inside Prompt Tracking.
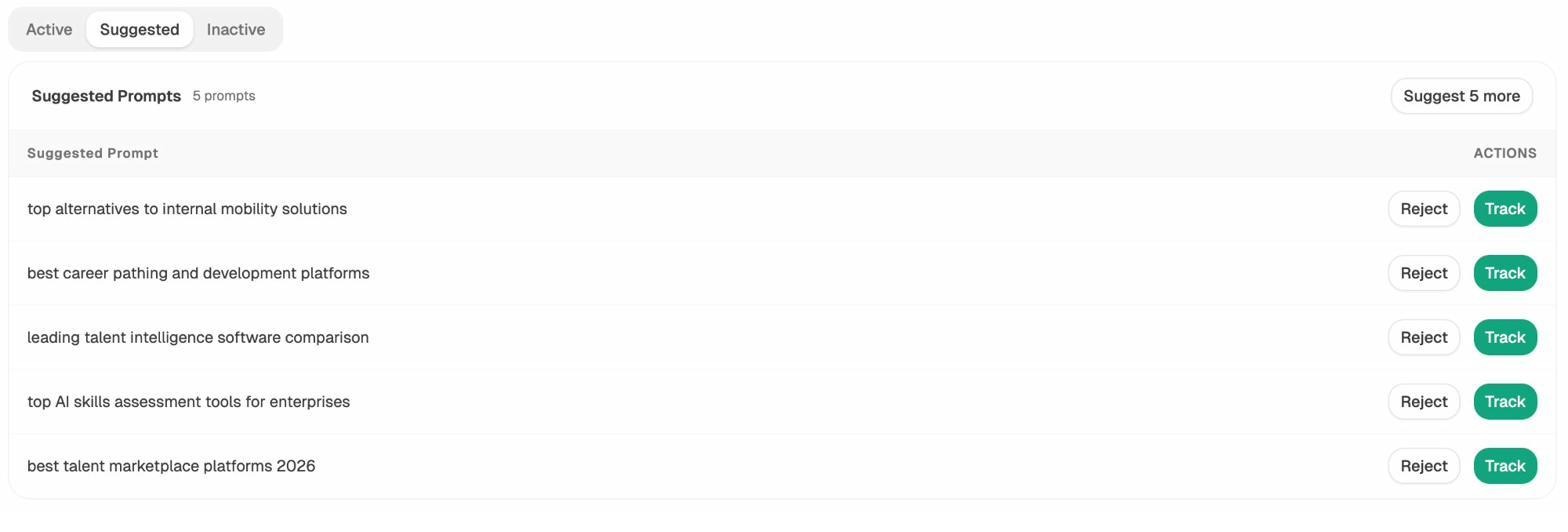
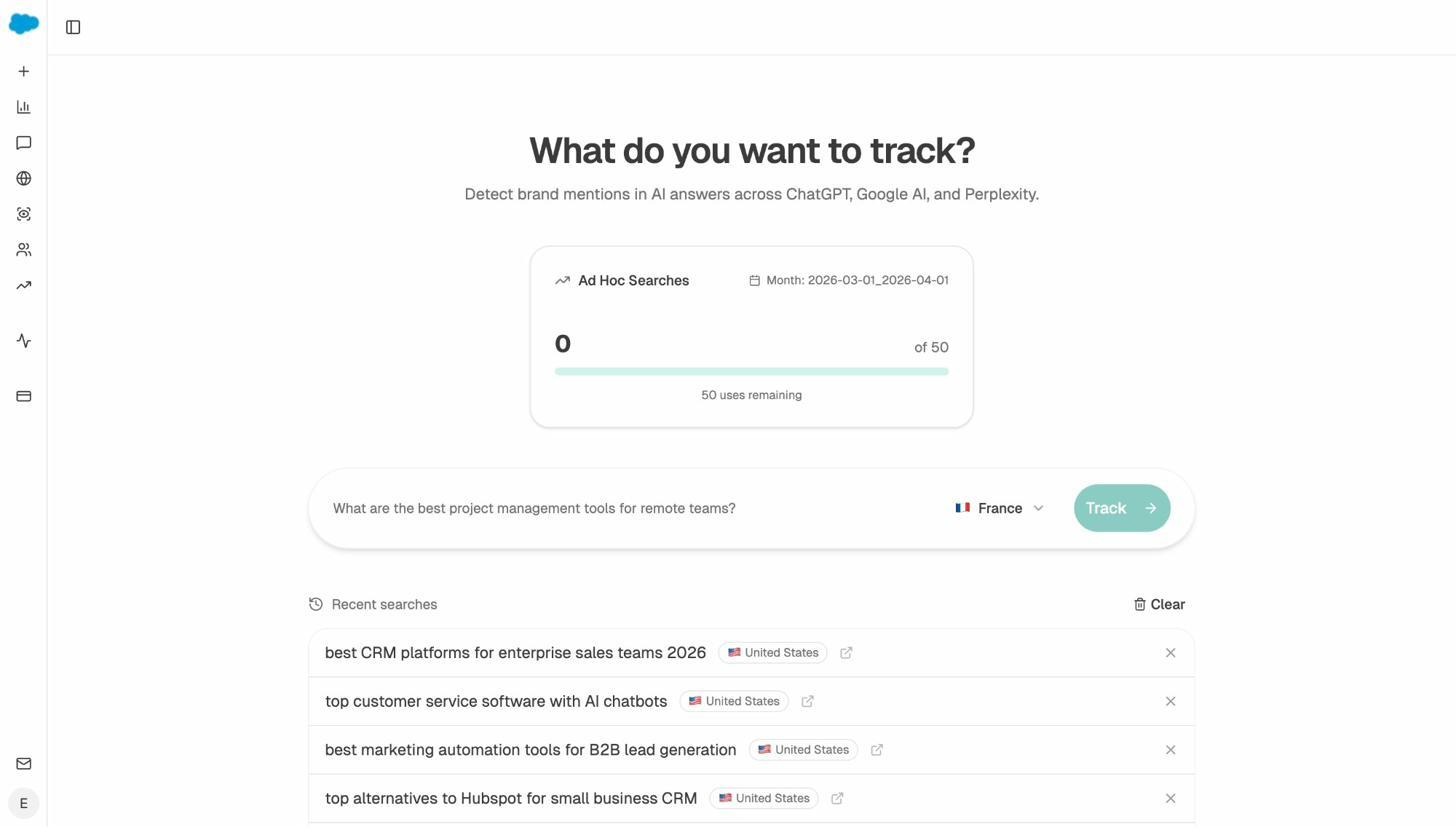
The Suggested Prompts feature scans the conversational queries your audience is asking AI engines and surfaces the ones you are not yet tracking. You can also run a one-off test with Ad Hoc Prompt Searches to see how a single prompt plays out across ChatGPT, Gemini, and Perplexity before you commit a whole article to it.
If a topic has both healthy keyword volume and active AI prompts around it, that is your green light. For a deeper walkthrough, see our guide to AI keyword research and our 9 keyword research tools to try.
2. Choose your content format based on search intent
Once you have a topic, you have to decide what kind of post it will be. The format is not a stylistic choice. It is dictated by what the searcher actually wants.
A how-to query wants steps. A “best X” query wants a list. A “what is X” query wants a definition followed by depth. Get the format wrong and your post will not rank, no matter how good the writing is.
The fastest way to settle the format is to look at what is already ranking. Google the keyword and study the top five pages. If they are all listicles, the searcher wants a list. If they are all step-by-step guides, the searcher wants a tutorial.
![[Screenshot: Google SERP for the chosen keyword with the top three organic results circled to highlight format consistency]](https://www.datocms-assets.com/164164/1777768160-blobid5.png)
You can also use our free SERP checker to pull the top results in one place. For AI search, the same logic applies but the format hint is different. Open ChatGPT or Perplexity, run your prompt, and notice whether the answer comes back as a list, a paragraph, or a comparison. That tells you what shape AI engines expect when they cite a source.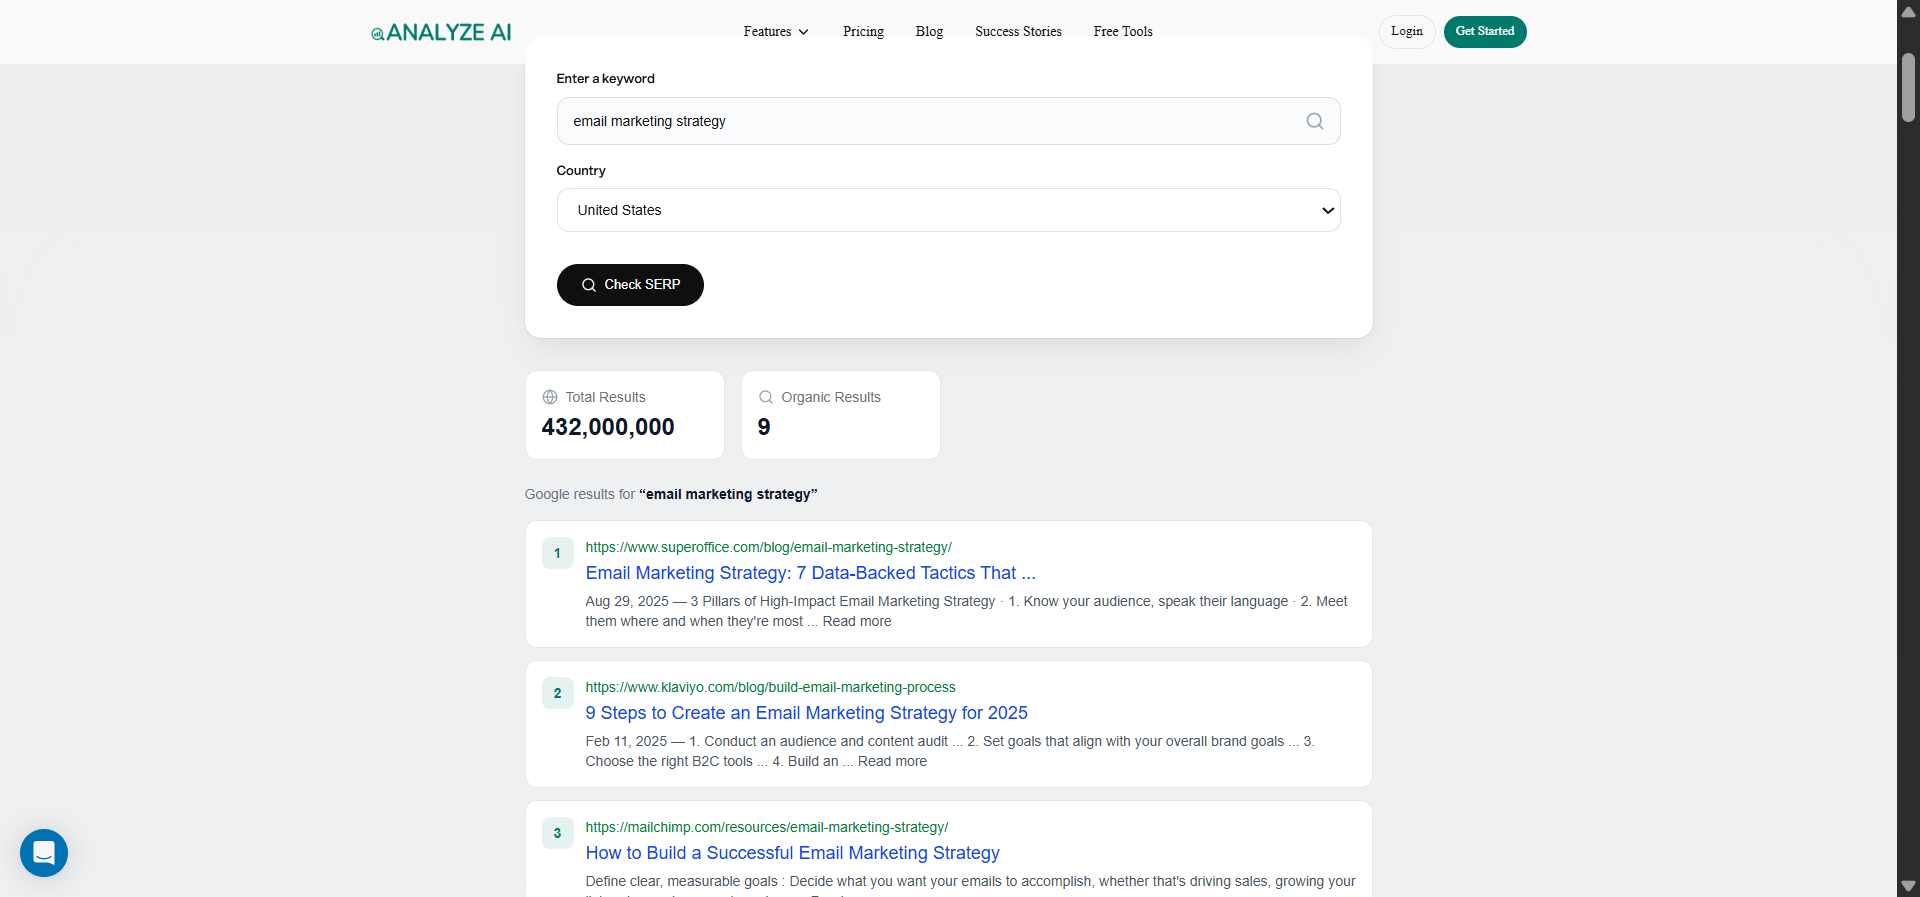
If your Google SERP and your AI answer agree on the format, your decision is made. If they disagree, follow Google for the structural backbone and add a short summary section at the top so AI engines have a clean block to extract from.
3. Find your angle and write your thesis
The topic is the territory. The angle is the path you cut through it.
Take “how to make ramen at home.” That topic has a dozen possible angles. You could teach restaurant-quality ramen, fast weeknight ramen, vegan ramen, or regional ramen styles. You cannot cover all of them in one post, and you should not try. The angle is what makes your article specific instead of generic.
To find an angle worth writing about, ask yourself five questions.
-
Do I have firsthand experience that contradicts the standard advice?
-
Can I interview an expert who has done this at scale?
-
Can I crowdsource opinions from a community that lives this problem, like a dedicated subreddit or a Slack community?
-
Do I have data or a study that backs an unusual claim?
-
Is there a contrarian position that holds up under scrutiny?
Pick one. Then write a single-sentence thesis that captures it. A thesis is the argument your article is making in one line. If you cannot write one, you do not have an angle yet.
For example, a generic angle for “how to write a blog post outline” is “here are seven steps to outline a post.” A real thesis is “most outlines fail because they are built around topics instead of arguments, and an outline that starts with a thesis writes itself.” That is the article you would actually want to read.
4. Pick a template that matches your format
Most blog posts you read are variations of three or four templates. You do not have to invent a new structure for every post. You just have to pick the right one and fill it in.
For a step-by-step guide, the template looks like this.
Introduction (problem, payoff, what reader will learn)
Step 1 (action, why it matters, how to do it, example)
Step 2 (same shape)
Step 3 (same shape)
…
Conclusion (one-line takeaway, link to next resource)
For a listicle, each item gets its own H2 with a consistent internal structure. For a thought leadership piece, the template is closer to thesis-antithesis-synthesis: state the common belief, dismantle it, propose your alternative.
If you are using Analyze AI’s AI Content Writer, the template is generated for you based on the keyword and the format you chose. You start by adding a content idea, then move it through Research, Outline, and Draft stages.
5. Map your subheadings by mining gaps in Google and AI search
Your template gives you the skeleton. Your subheadings are the muscles. They decide what your article actually covers and what it leaves out.
There are four sources you should pull from. Use all four, in this order.
|
Source |
What it gives you |
Where to find it |
|---|---|---|
|
Your own expertise |
The right order, the steps competitors skip |
Your head, before you look at anything else |
|
Content gap on top-ranking pages |
Minimum coverage to compete on Google |
Ahrefs Content Gap, or any tool that compares ranking keywords across URLs |
|
People Also Ask |
Related questions Google associates with your topic |
Google SERP, AlsoAsked.com, our PAA optimization guide |
|
AI search citation gaps |
Subtopics that win citations in ChatGPT and Perplexity |
Analyze AI’s Competitor Intelligence and Sources views |
Your own expertise comes first. If you have done the thing, you know what readers need to learn and in what order. Sketch your subheadings from memory before you look at anything else. You will catch what competitors miss because you have lived it.
Run a content gap on the top-ranking pages. Open a content gap tool, paste in three or four of the top results for your keyword, and find the keywords they all rank for that you do not. Those shared subtopics are your minimum coverage. If five competing articles all answer “is the keto diet healthy” and you do not, you have a hole.
![[Screenshot: Ahrefs Content Gap tool with three competitor URLs entered and the intersection filter set to 3]](https://www.datocms-assets.com/164164/1777768169-blobid8.png)
Pull questions from People Also Ask. Google your keyword and scroll. The PAA box shows you the related questions Google thinks your readers also have. Click into a few and the box expands. A free tool like AlsoAsked maps them in bulk so you can copy the most relevant ones into your outline.
![[Screenshot: Google PAA box for the chosen keyword, expanded to show four related questions]](https://www.datocms-assets.com/164164/1777768169-blobid9.png)
Find your AI search citation gaps. This is the source most writers skip, and it is where AI search adds a new organic channel on top of SEO. Open Analyze AI’s Competitor Intelligence and look at the prompts where competitors are cited and your brand is not. Those gaps tell you which subtopics are winning citations in ChatGPT and Perplexity right now.
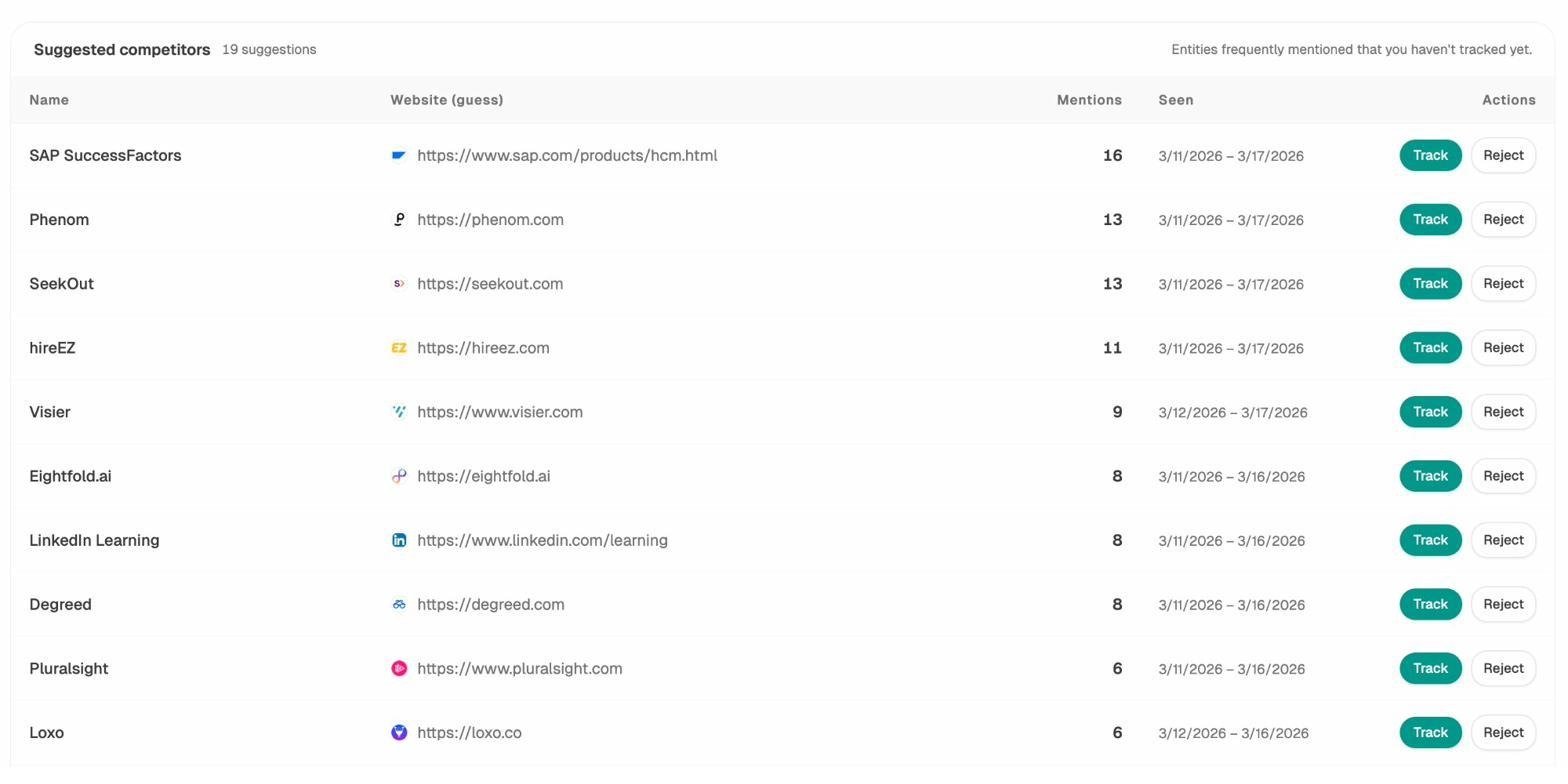
Competitor Intelligence inside Analyze AI showing tracked and suggested competitors
Then check the Sources view, which lists every URL that AI engines reference when they answer questions in your industry. If a competitor blog post on “keto diet rules” is cited fifteen times across ChatGPT and Perplexity in the last week, that subheading belongs in your outline.
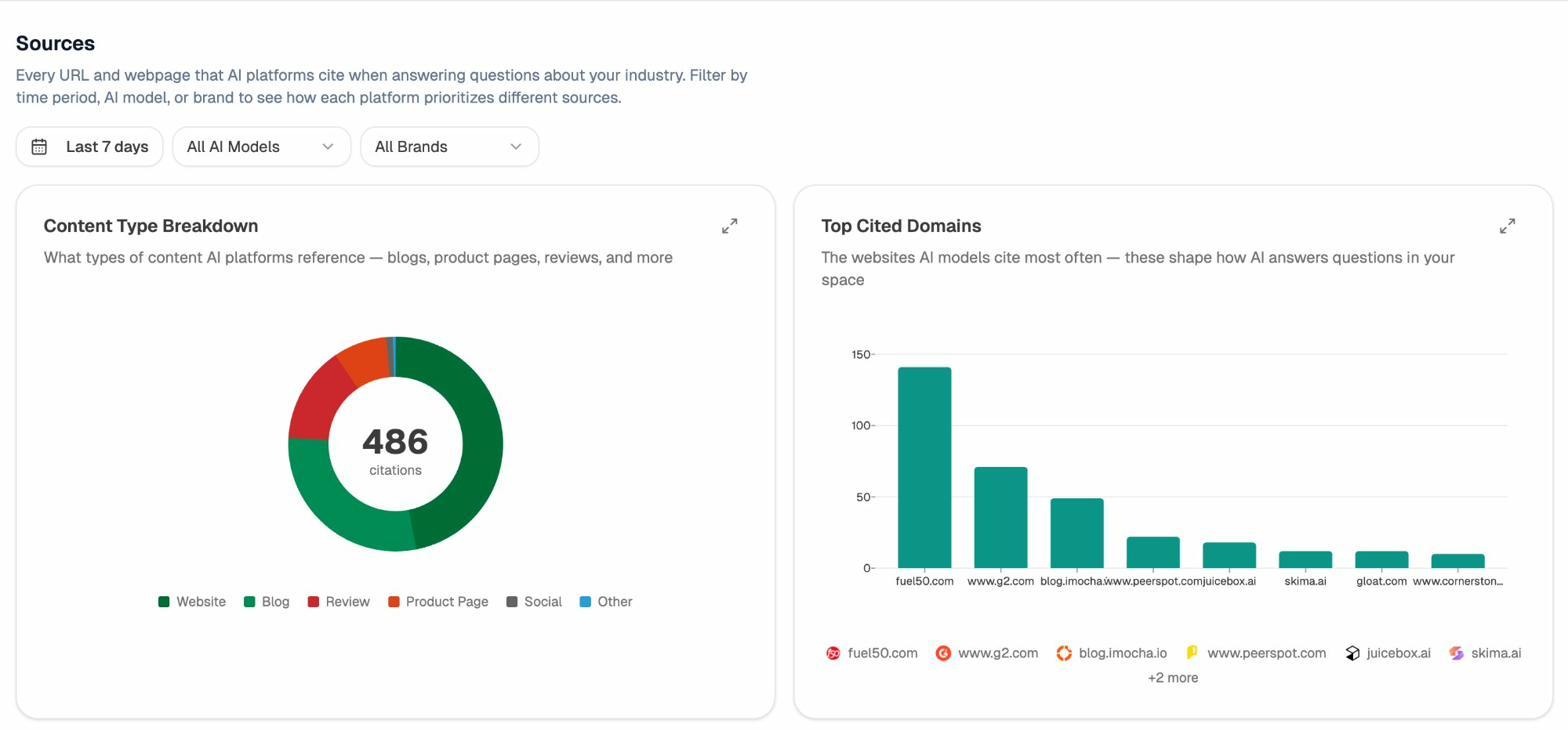
Sources view inside Analyze AI showing the most cited domains and content types in your space
There is one more shortcut worth knowing. If you have AI traffic landing on your site already, open AI Traffic Analytics and look at which existing pages get the most AI-referred sessions. The patterns in those pages, things like the format, the depth, the subheading style, are signals you can apply to your outline before you write a word.

Combine the four sources. Your final subheading list should cover what your expertise tells you, what Google’s top pages cover, what readers ask in PAA, and what AI engines actually cite.
6. Add evidence and originality nuggets under each subheading
Subheadings without supporting material are still not an outline. Under each H2, drop bullets that capture what you will actually say.
Four kinds of bullets earn their place.
-
The argument of the section in one line. What is the point you want the reader to walk away with?
-
Evidence. Data points, studies, or stats you will cite, with the source noted.
-
Examples. Real cases, screenshots, or workflows that show the argument in action.
-
Originality nuggets. A quote from an expert you interviewed, a screenshot from your own product, a small experiment you ran, or a contrarian observation that nobody else is making.
The originality nuggets are what separate your post from the other twenty articles ranking for the same keyword. Without them, you are writing copycat content. With them, your post earns links and citations from both human readers and AI engines, which prefer to cite distinctive sources over generic ones.
![[Screenshot: Example outline in a Google Doc with three to four bullets under each H2, showing the four bullet types in use]](https://www.datocms-assets.com/164164/1777768181-blobid13.png)
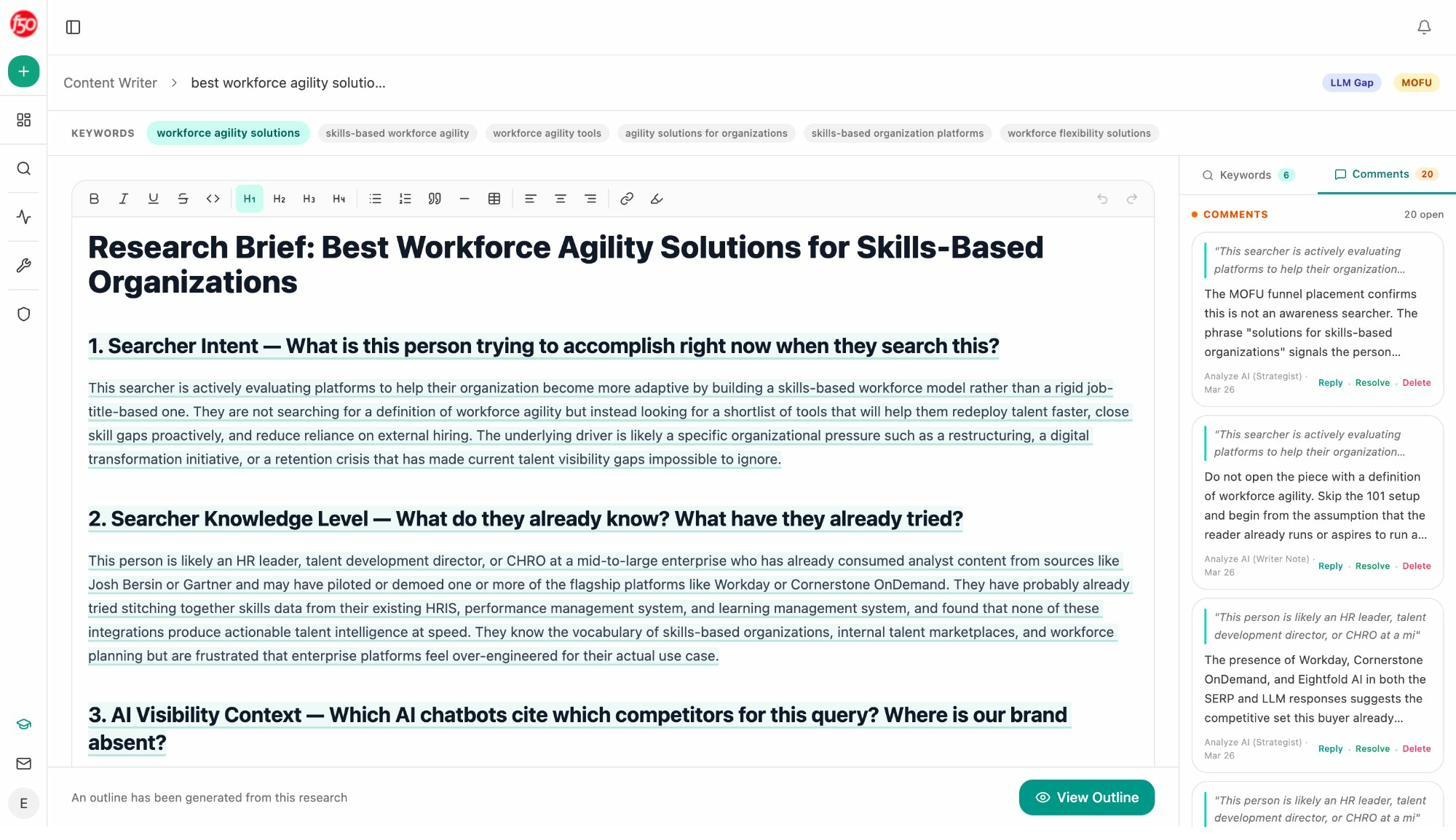
For inspiration on what a fully fleshed-out brief can look like, here is the research view inside Analyze AI’s Content Writer, which adds a layer of strategic notes on searcher intent, knowledge level, and AI visibility context alongside each section.
7. Plan your introduction and conclusion
The introduction has one job. It has to convince a reader who has never heard of you to keep reading instead of clicking back to the SERP.
The default formula in most writing guides is Problem-Agitate-Solve, where you state the problem, agitate the pain, and offer a solution. It works for cold audiences. But for content where readers already know the problem (they typed your keyword into Google), there is a better move. Lead with specificity.
State what is unique about your article in the first two sentences. If you ran a test, say so. If you are contrarian, name the position you disagree with. If you have data, drop the headline number. The goal is to make the reader think “this one is different” before they finish the second paragraph. Generic opens like “When it comes to outlines…” tell the reader you have nothing original to say, and they will leave.
For the conclusion, plan three things.
-
A one-line takeaway that captures the thesis you opened with
-
A link to the most relevant next resource
-
An invitation to take action, not just nod along
Skip “in conclusion.” Skip “I hope this article helped.” Both signal that the writer ran out of things to say.
8. Pressure-test your outline before drafting
The last step is the one most writers skip, and it is the one that prevents you from rewriting half the post in revision.
Run your outline through three checks.
The MECE check. Every section should cover distinct ground (mutually exclusive) and together they should cover the whole topic (collectively exhaustive). If two sections overlap, merge them. If a major subtopic is missing, add it. This is the structural test that catches problems before they become rewrites.
The read-aloud test. Read your H2s out loud in order. They should tell a coherent story even without the body content. If the flow stutters or you find yourself adding “and then” to bridge sections, the order is wrong. Reorder until the spine reads cleanly on its own.
The AI extractability check. AI engines pull excerpts from the top of each section. That means each section should lead with the answer, not the setup. Bottom Line Up Front, often shortened to BLUF, is not just a style preference. It is a citation strategy. If your H2 is a question, the next sentence should answer it. If your section is making a claim, the first sentence should state the claim outright.
If you are using Analyze AI, you can run your finished post through the AI Content Optimizer, which scores it on argument flow and clarity and flags sections where AI engines will struggle to extract a clean answer.
Then send the outline to a colleague or editor before you start drafting. A second pair of eyes catches gaps you have stopped seeing.
Final thoughts
Good outlines are boring to make and they save you hours. They also force you to decide what you have to say before you say it.
Pick a topic with demand in both Google and AI search. Choose a format that matches intent. Write a thesis. Pick a template. Map your subheadings from four sources. Add evidence and originality. Plan a specific intro and a useful conclusion. Pressure-test the whole thing before you draft.
AI search is not replacing SEO. It is sitting alongside it as another organic channel, and the same disciplined outline that wins on Google is the one that earns citations in ChatGPT and Perplexity. The work compounds.
For the next step, see our guide on how to write an article from outline to publish.
Ernest
Ibrahim


